


Download the installation and project handbook (PDF)
Tools and preparation
- Tape measure, level, square and marking tools.
- Suitable cutting equipment and drill bits for the boards and supporting substrate.
- Compatible battens, fixings and trims for Series 1 or Series 2.
- Safe access to the work area and the protection specified by the tool manufacturer.
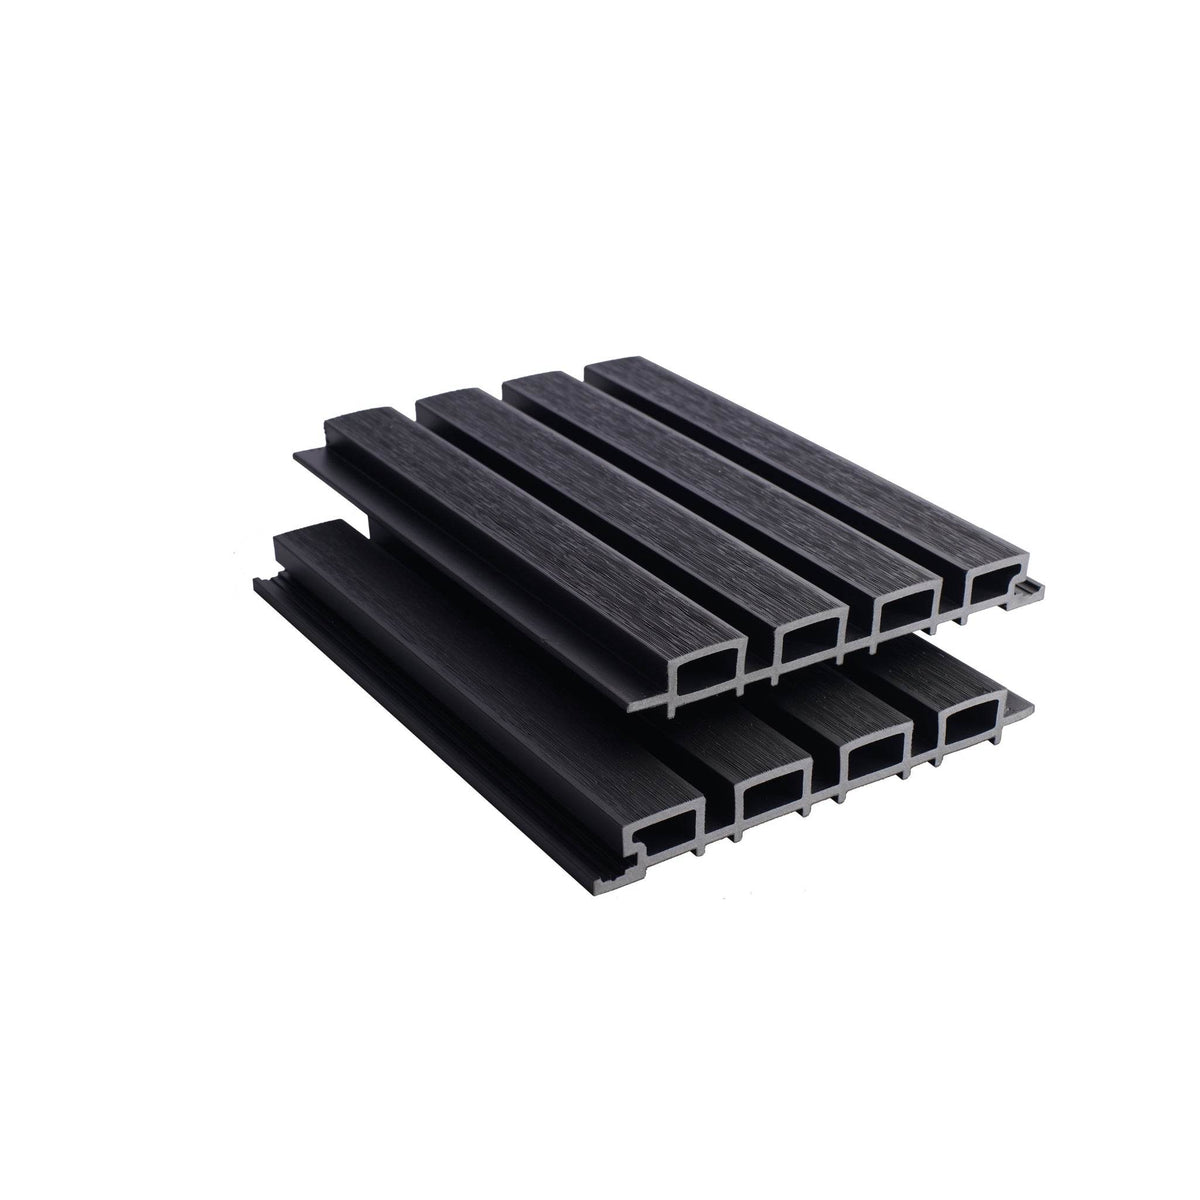
A good slatted cladding finish starts with the right board profile, a suitable backing structure and a plan for every corner and opening. Series 1 and Series 2 boards have different dimensions, so identify the system before choosing trims or calculating quantities.
This guide follows the preparation and fitting sequence in our existing product instructions. Confirm the exact support centres, fixings, movement gaps, ventilation and drainage details for the selected system and building before installation. It does not replace a product-specific installation specification or an assessment of the wall.
1. Identify the cladding profile
| Range | Lengths | Profile |
|---|---|---|
| Series 1 | 2.5m / 3.6m | 219mm wide × 26mm thick |
| Series 2 | 2.5m / 3.6m | 128mm wide × 25mm thick |
Overall width is not necessarily the effective installed cover. Obtain the cover dimension for your chosen board before working out the number of boards. Do not assume that a corner or fixing for one series will fit the other.
2. Plan direction, lengths and openings
Draw each wall separately and mark its width, height, windows, doors and other openings. Decide where full boards, cut boards and joints will fall. Series 1 is listed for horizontal or vertical installation; confirm the backing and fixing detail for your chosen direction. Check the approved arrangement for other profiles.
A window reduces the wall area, but it does not automatically reduce the order by the same amount: some cut pieces may not be reusable elsewhere. Make a cutting plan before treating the total opening area as a saving.
3. Confirm the wall and supporting framework
The listed instructions call for a secure, level batten or subframe system. Check the wall and choose fixings suitable for its substrate. Confirm the intended use of the cladding and the required ventilation, drainage and weathering details with your installer before covering the wall.
Set out a straight, plumb and square framework using the support spacing specified for the actual product. Resolve uneven support before fitting boards. Do not transfer a support-centre figure from a different board system.
4. Check and prepare the boards
Inspect the delivery before cutting. For consistency, choose one length and order together where possible; 2.5m and 3.6m boards can vary in colour between batches. Follow the product's preparation and acclimatisation instructions where applicable.
Mark cuts from the layout and use appropriate cutting tools for the material. Dry-check the arrangement of boards and trims around an opening before making all the cuts.
5. Fit the first board and work across the wall
Fix the first board straight and level using the specified compatible fixing method. Continue in sequence, checking alignment regularly so the slatted lines remain consistent. Keep the required expansion allowance wherever the product detail calls for it.
Do not use the visible slat spacing as a substitute for the specified movement gap. Tightening and fixing details must follow the selected system's instructions.
6. Finish corners, windows and doors
List the internal corners, external corners, opening reveals and exposed edges separately. Series 1 internal and external corner trims are labelled for that profile. F trims and fascia have different shapes and roles: check their fit, dimensions and fixing detail before ordering.
Cladding trims finish the appearance; they do not by themselves establish the correct waterproofing detail around a window or door. Agree the interface with the existing frame, sill, drainage and wall construction before fitting.
7. Make the final checks
Check the board lines, corners, openings, permitted gaps and fixing security. Remove cutting debris and check that the planned drainage and ventilation paths remain clear. Keep the fitting specification and product references for future maintenance or replacement orders.
Compare Series 1, Series 2 and black slatted cladding. Use the accessory collection and cladding buying guide to complete your materials list. Contact us with the exact board and project details for fitting guidance.
Keep these with your order
Download the project ordering checklist before buying. After fitting, use the care and maintenance guide and keep the exact product references, fitting instructions and installation photographs.


