


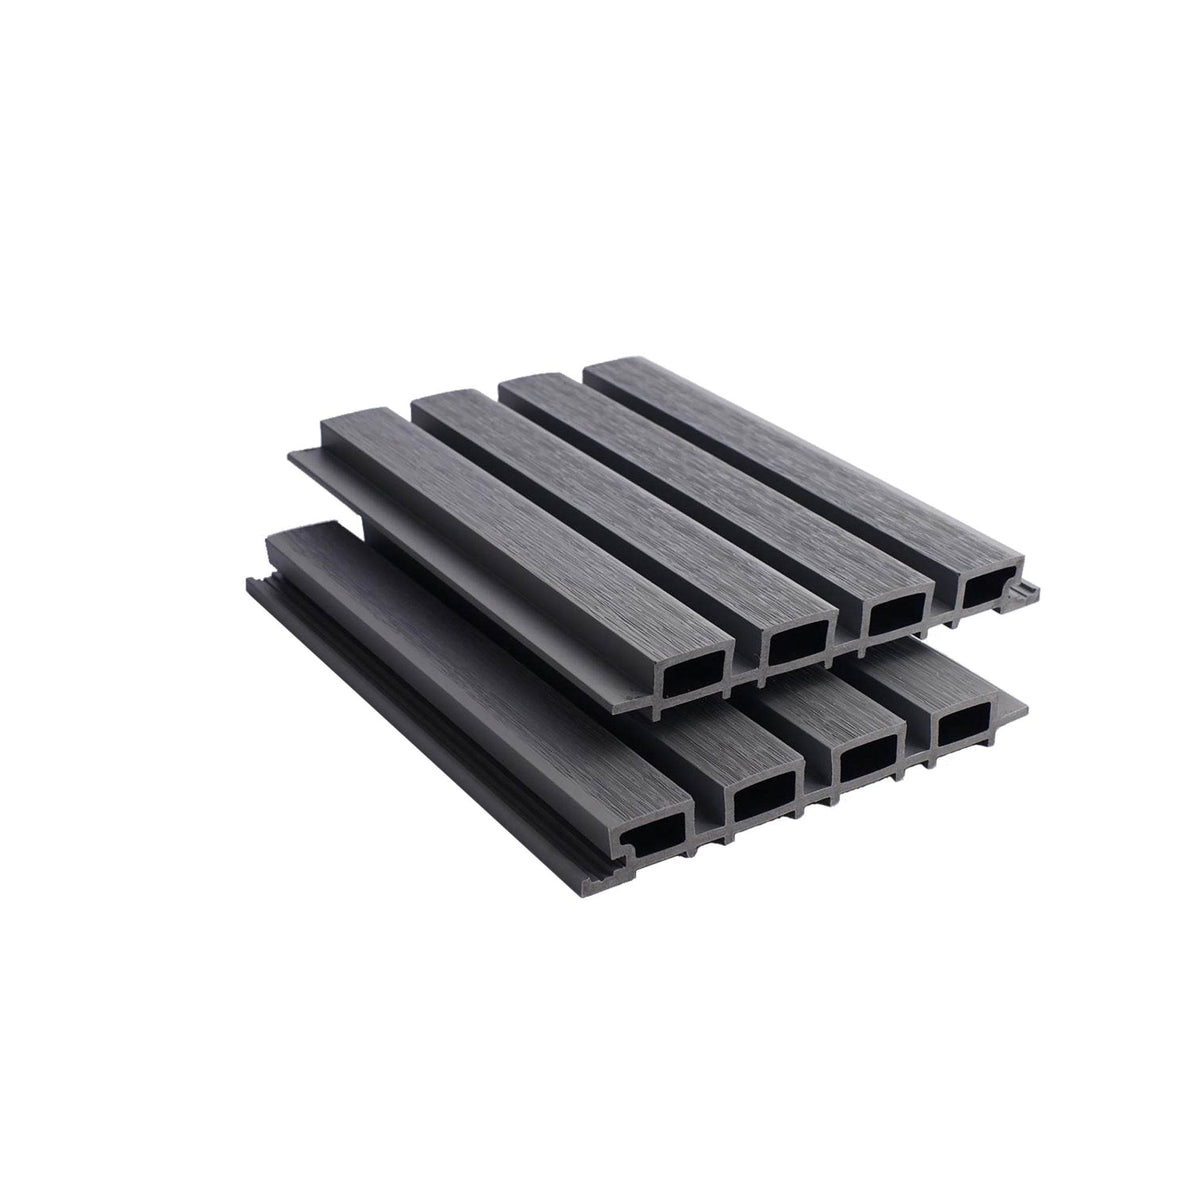
The appearance of a cladded wall depends on more than its colour. Board profile, direction, joints and the way corners and openings are finished all affect the result. Start with the wall you want to cover, then choose a compatible set of boards and trims.
Our composite cladding ranges include woodgrain, smooth and several slatted profiles. This guide explains the differences shown in the Status Composite catalogue and the measurements to check before ordering.
Compare cladding profiles
| Range | Listed dimensions | Appearance |
|---|---|---|
| Woodgrain cladding | 3.6m long; approximately 157mm overall width | A timber-style grain across the board face. |
| Smooth cladding | 3.6m long; approximately 157mm overall width | A smoother surface, available in Black or Grey. |
| Slatted Series 1 | 2.5m or 3.6m × approximately 219mm × 26mm | A slatted profile that adds depth and repeated linear detail. |
| Slatted Series 2 | 2.5m or 3.6m × approximately 128mm × 25mm | A different slatted board profile; check its own accessories and cover width. |
| Golden Oak/Black woodgrain slatted | 2.5m × 219mm × 26mm | A Golden Oak woodgrain face with contrasting black shadow gaps. |
Dimensions are nominal and should be checked against the selected product. Series 1 and Series 2 have different profiles, so accessories should not be chosen on colour alone.
Overall width is not the same as effective cover
Overall width describes the physical board. Effective cover is the width it contributes once adjoining boards are fitted together as intended. Where a profile overlaps or interlocks, using the full overall width can underestimate the number of boards needed.
Measure each wall separately and ask for the effective cover of your selected profile before finalising quantities. For a simple rectangular elevation with vertical, full-height boards, dividing the wall width by the confirmed installed cover gives a starting row count. Horizontal layouts need the equivalent check against wall height. Round to whole boards, then review cuts, openings and joins.
Do not deduct every window or door area and assume all resulting offcuts can be reused. Map the board runs first; an offcut must be long enough and suitable for the location where you intend to use it.
Plan the finish around corners and openings
Mark internal corners, external corners, wall ends, window reveals and door openings on your sketch. Each may need a different finishing detail. Count these in linear metres and check the available trim lengths as well as the board quantity.
- Internal corners: where two clad faces meet inward.
- External corners: where the cladding turns around an outward-facing corner.
- Reveals and ends: areas where an appropriate F trim, angle or other compatible finishing piece may be needed.
- Joins: positions to plan before fixing, using the chosen system's instructions.
Browse slatted cladding accessories or woodgrain and smooth cladding accessories, then confirm the fit for your exact board.
Check samples and batch consistency
Place a sample beside your brickwork, windows and paving in daylight. Black, Grey and timber-effect shades can appear different on a screen or under indoor lighting. A sample helps you assess the surface as well as the colour.
Series 1 and Series 2 listings explain that 2.5m and 3.6m lengths may vary slightly in shade between batches. Select one length and order the project together where possible. If you need both lengths, discuss the visual match before placing the order.
Confirm the wall system before installation
Cladding boards are one part of a wall assembly. The substrate, support framework, fixings, ventilation, drainage and opening details need to suit the project. A board's appearance or moisture resistance does not establish the performance of the complete wall.
Ask your installer to confirm the product's suitability and any required fire-performance or building documentation for the intended location. Do not infer those properties from the word “composite”. Our installation guidance page is the starting point for checking the chosen range.
What should I send for an order check?
Send wall dimensions, photographs, proposed board direction, locations of openings and corners, and your preferred range, colour and length. Contact us before ordering if effective cover or trim compatibility is unclear; those details can change the materials list.
Plan the next stage
Compare black slatted cladding boards and trims, then review the slatted cladding installation planning guide.


