


Composite fencing may be an option between existing concrete posts, but compatibility needs checking before you buy. The condition of the posts, the clear opening, groove dimensions and the proposed board-and-rail system all matter. The fact that a timber panel fitted previously does not prove a composite arrangement will fit.
Status Composite lists a Composite U Channel for compatible concrete-post installations. Use the checklist below to gather the information needed to assess it for your fence. This is an ordering guide, not a substitute for the installation instructions for the chosen system.
Already measured? Send your dimensions for a compatibility check.
1. Check the existing structure
Look for leaning posts, visible cracking, damaged grooves and movement around the base. Take photographs of each issue and ask a competent installer to assess whether the posts and their foundations are suitable for the replacement fence.
A new infill does not repair an unstable post. Avoid ordering solely from photographs of another installation: the dimensions, supporting structure and exposure on your site may differ.
2. Measure every bay
Write down the clear opening between the posts at the bottom, middle and top. Measure the receiving groove width and depth on both sides, and record the intended panel height and any existing gravel board. Take measurements for each bay rather than assuming the whole run is uniform.
A nominal 1.8m board length is not the same measurement as post-centre spacing. The usable opening depends on how the board, rail or channel engages with the post and on the installation clearances required by the chosen system.
3. Confirm the channel and board combination
The listed U Channel is 1.8m long and is intended to help adapt compatible concrete-post grooves for composite fencing. Its suitability still depends on the actual groove and selected fencing profile. Confirm the channel's external size, internal receiving space and fixing method before ordering.
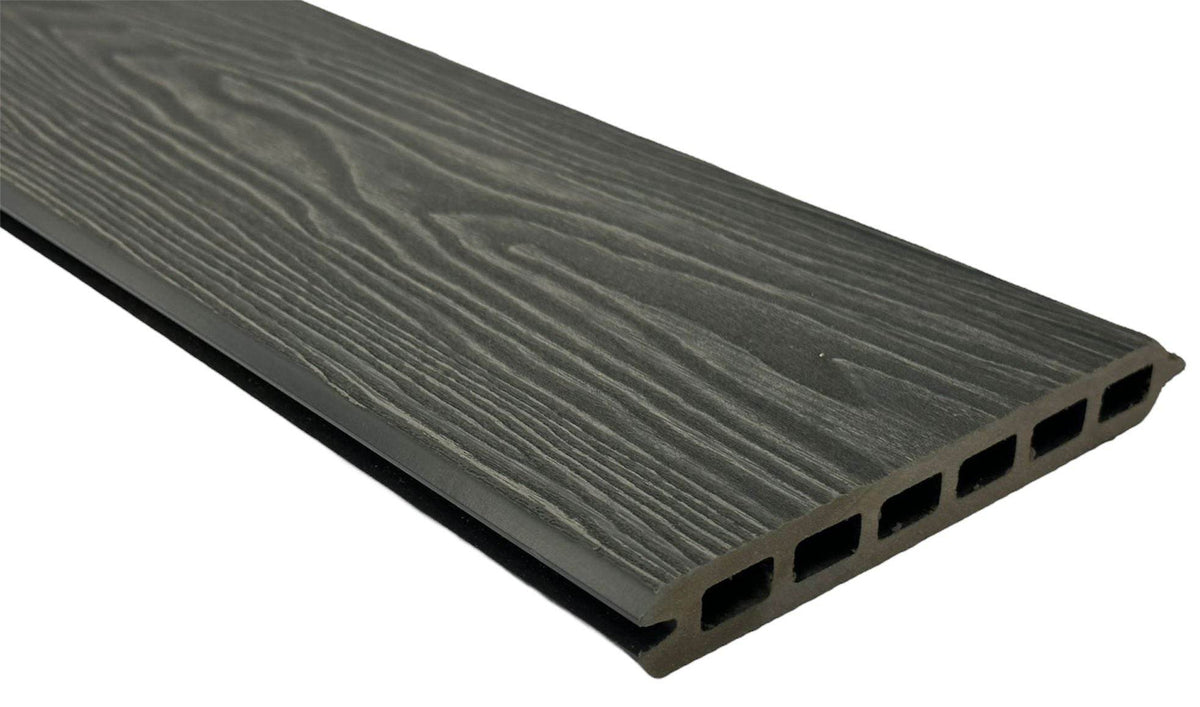
Share the exact product name or link when asking about compatibility. Woodgrain slats, flat co-extrusion boards and slatted co-extrusion boards have different dimensions and details. A similar colour or nominal length does not make them interchangeable.
4. Check the rails and finished height
Ask which bottom support, top rail, caps and other finishing pieces the selected arrangement requires. Loose slats alone are not a complete fence system. Confirm how the boards are supported and retained, including any detail next to a gravel board.
Use the assembled system's dimensions to plan the finished height. Adding together the nominal widths of tongue-and-groove boards may not give the installed height because the profiles join together. Do not borrow the board count from a different kit or profile.
5. Decide whether kits or separate parts suit the job
A complete kit includes a post, which may be unnecessary if your existing concrete posts are confirmed suitable. Separate slats and compatible accessories may be a more appropriate order for that arrangement. However, list every required component before comparing the total.
Our kit-versus-slat buying guide explains the current kit contents and why an additional end post can be needed on a new freestanding run.
What should I send for a compatibility check?
- A photograph of the whole fence run and a close-up of both post grooves.
- Clear bay widths at the top, middle and bottom.
- Groove width and depth, with a ruler visible in photographs where practical.
- Desired finished height and details of any gravel board.
- The preferred board range, length and colour.
- Details of corners, end bays, gates and damaged or leaning posts.
Contact Status Composite with those details before placing the order. Confirm the final installation method through our installation guidance and your installer, especially where the existing arrangement differs from a standard kit.
Ask us to check your concrete-post measurements
Send the measurements below before ordering. If you have several bays, record each in the notes. We will use these details to discuss suitable components; installation suitability still needs checking for your site.
Planning a new Woodgrain fence?
Read the Woodgrain fencing kit installation guide for the component checks, post layout and fitting sequence.


